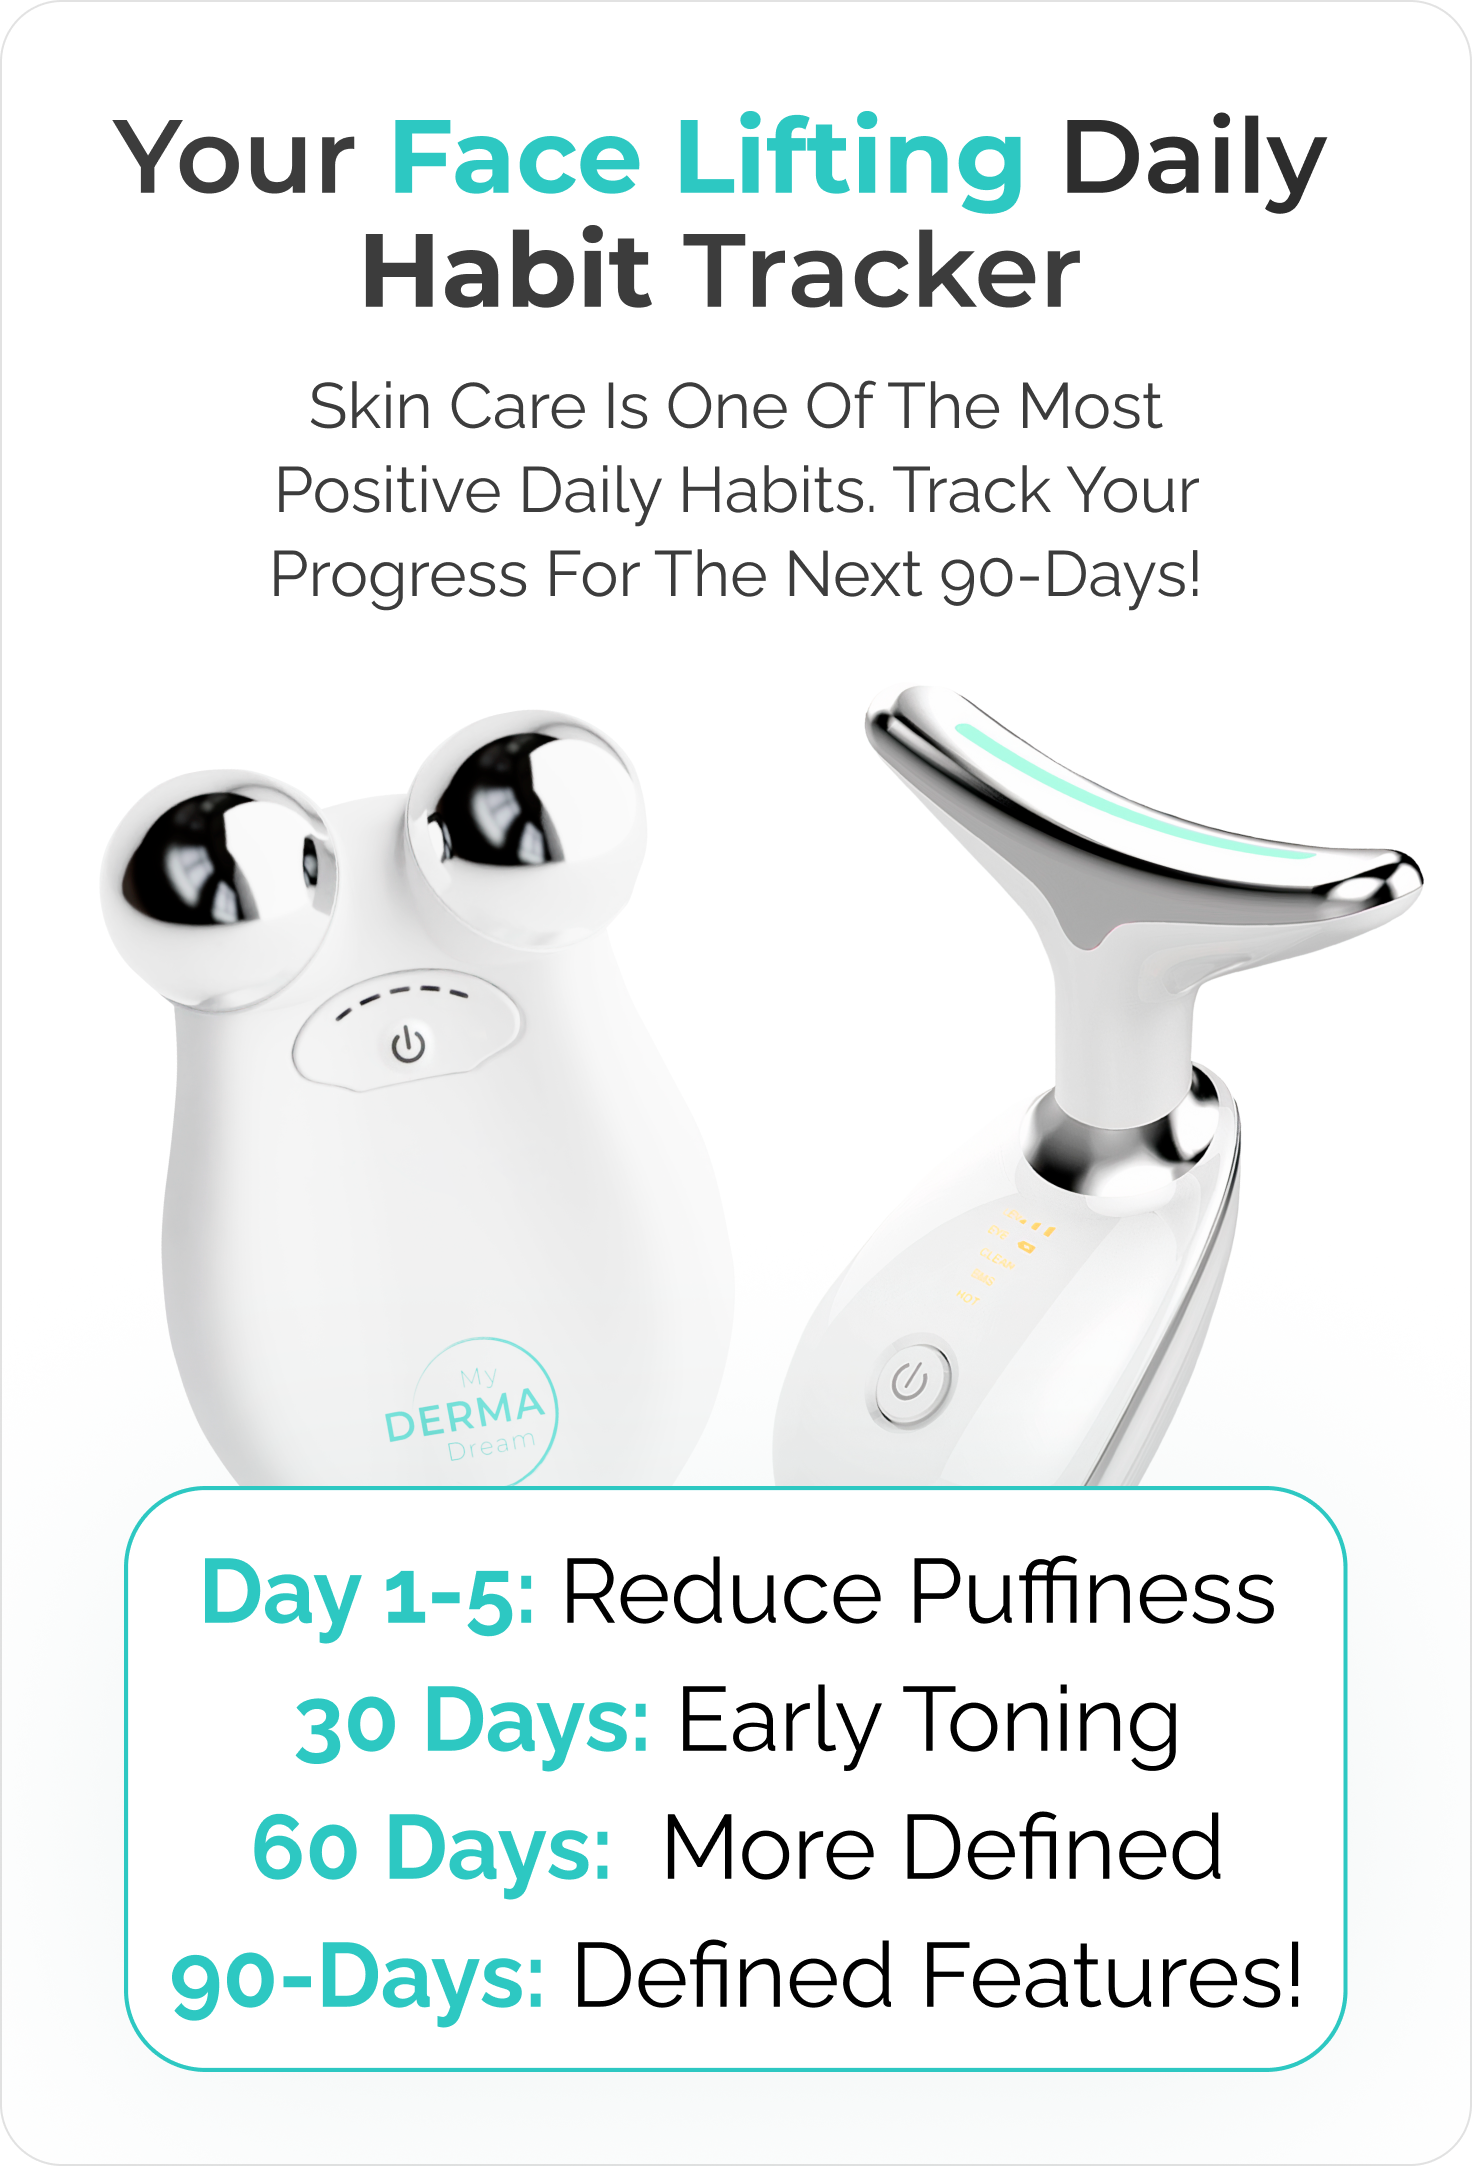
Use The MicroSculpt Habit Tracker & Rewards App
Track, Transform, and Earn Rewards with My Derma Dream

- Track Your Habits: Log your daily skincare routines and stay consistent.
- Visual Progress: Take selfies to visually track your skin’s transformation.
- Earn Rewards: Unlock amazing rewards like free products for your dedication.
- User-Friendly: Designed to make your skincare journey fun and simple.
- Stay Motivated: Helps you get the most out of your device and achieve radiant, youthful skin.
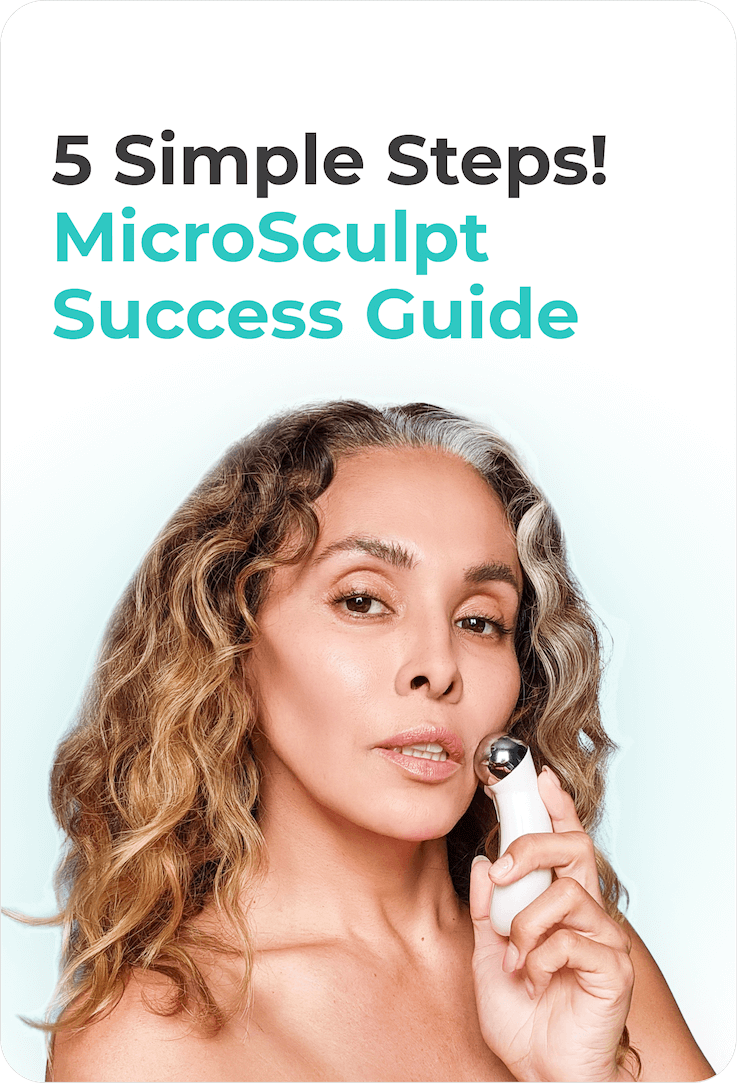
5 Simple Steps to MicroSculpt Success
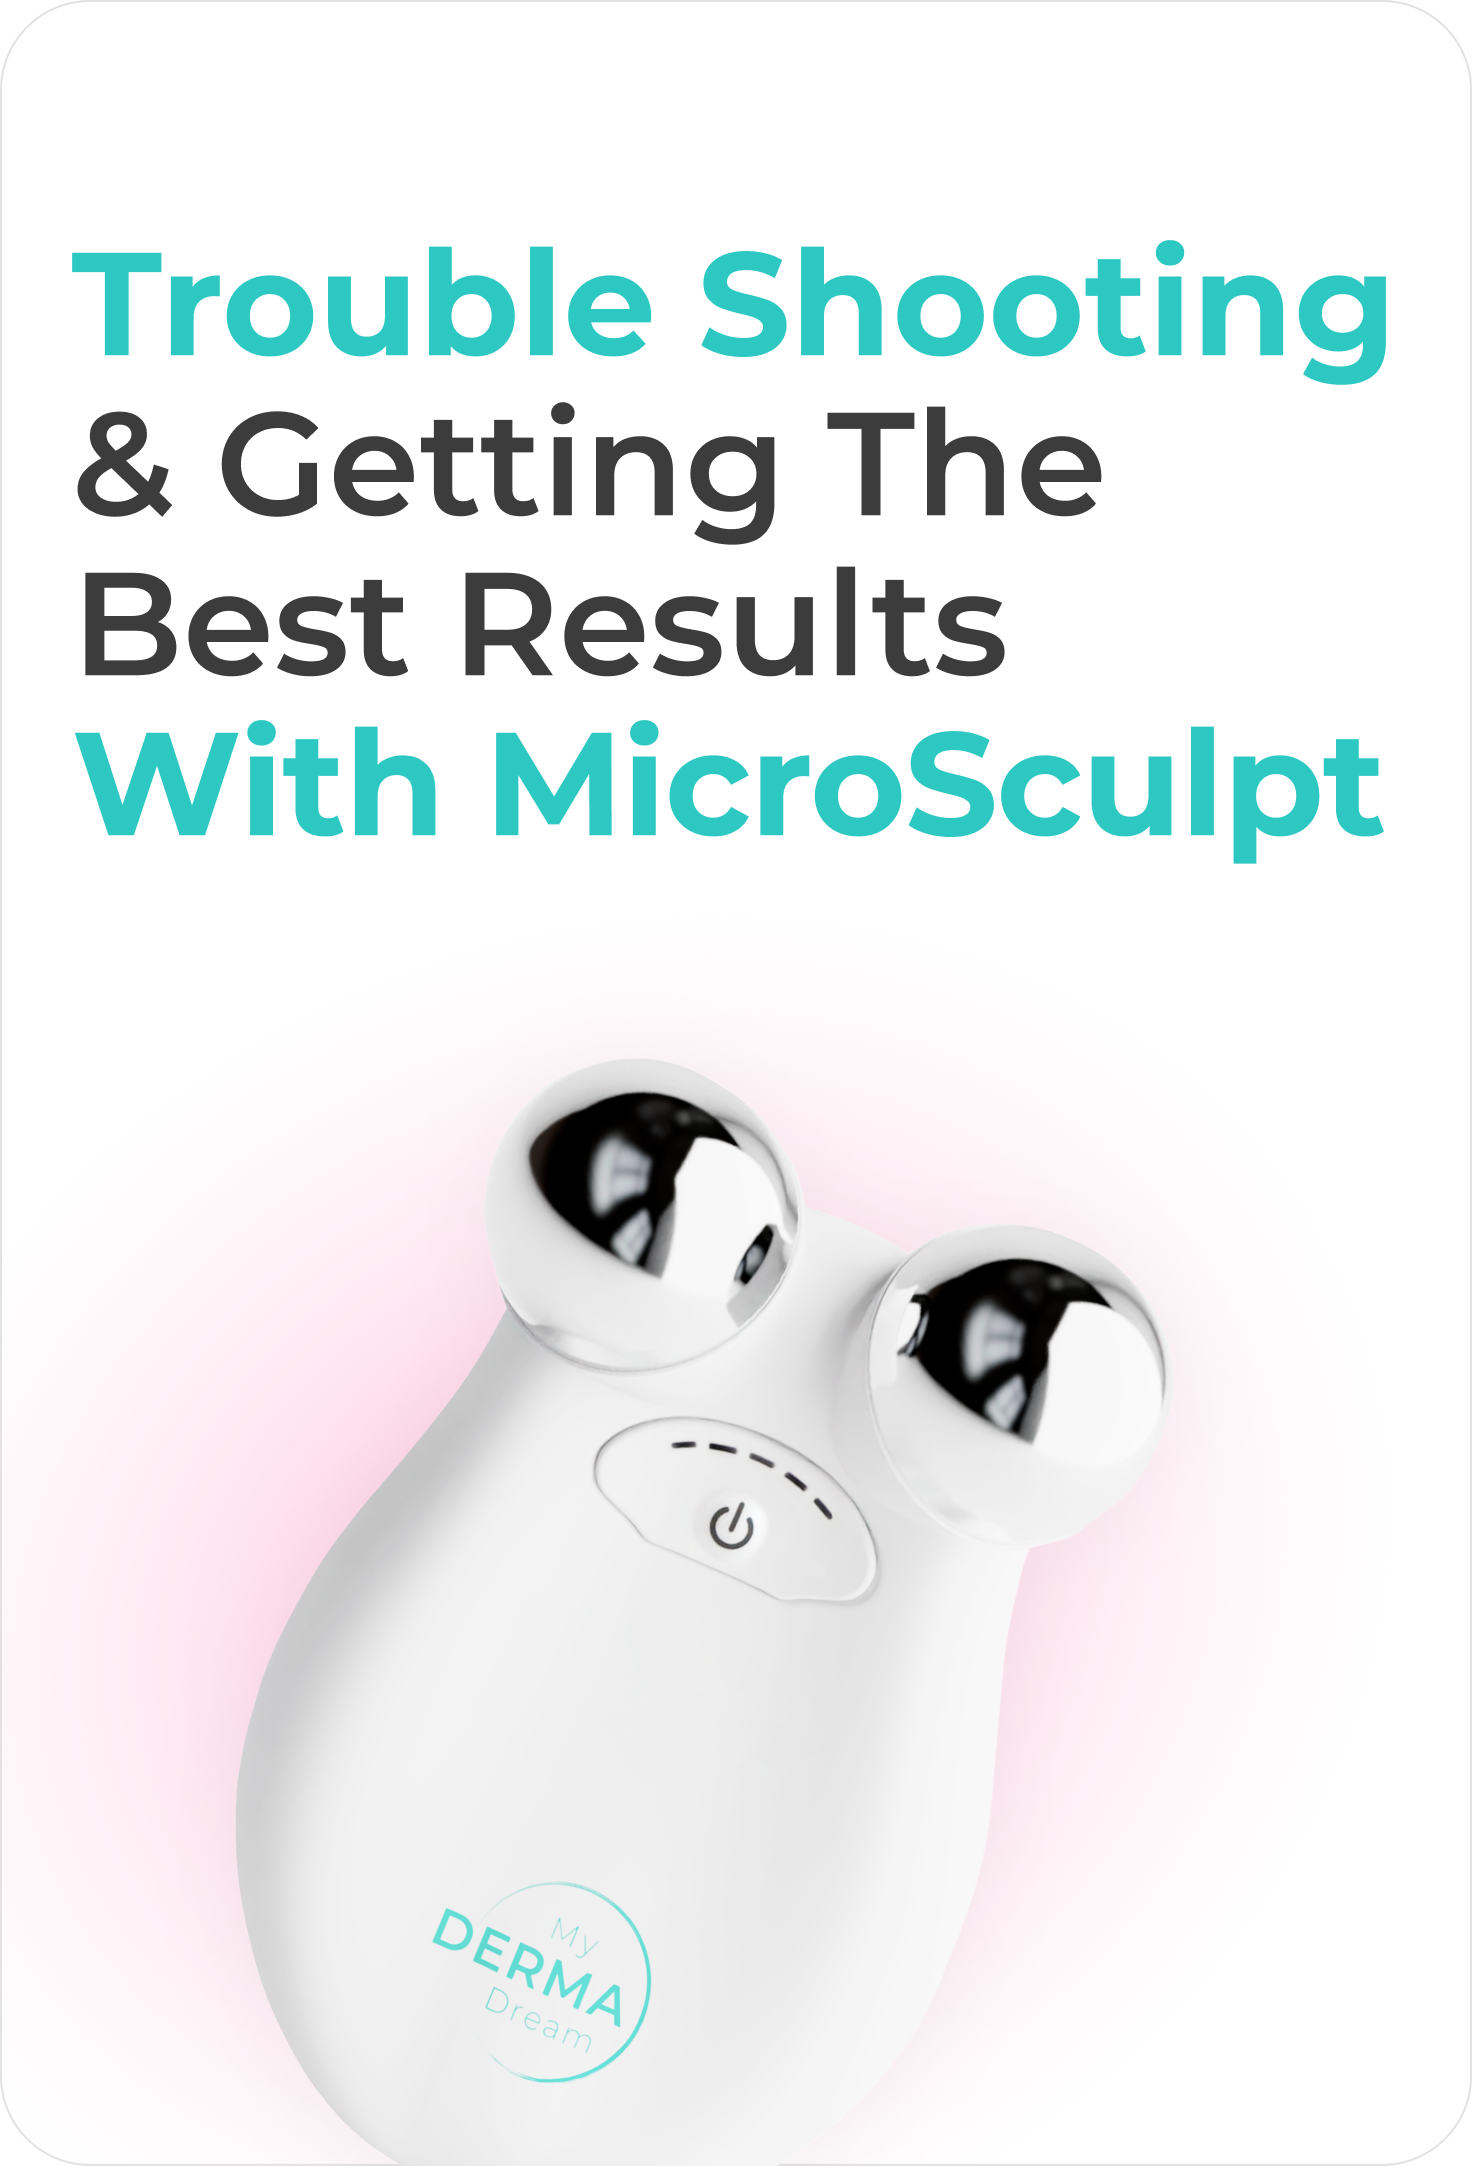
Trouble Shooting
Guide
General Questions
Is this technology safe?
How does it work?
How fast can I expect results?
What’s included with my purchase?
Is shipping really FREE?
How to's
How To Hold MicroSculpt
Vertical vs. Horizontal

Throughout this walkthrough, we’ll be referring to the metal probes either being vertical or horizontal. Though you must always follow the curves of your face….
When we say we want you to start vertically, this means the probes are stacked on top of each other. Verses when we say horizontal, this means the probes are side by side.

Hold the MicroSculpt so that your thumb is on the same side as the button. This is the concave-shaped side. It’s ergonomically shaped this way to give you more leverage with less pressure on your fingers.
How to Smooth Your Forehead and Lift your Brow

- Hold MicroSculpt horizontally.
- Start above your eyebrow at your temple.
- Use a light/firm amount of pressure.
- Work your way up to your hairline.
- Move 1-2” to the right or left.
- Repeat.
- Repeat the process until you reach the opposite side of your forehead.
How to Erase Your 11’s

- Hold MicroSculpt horizontally.
- Start above at eyebrow level.
- Use a light/firm amount of pressure.
- Zig-zag back and forth.
- Work your way up to your hairline and back down.
- Repeat once.
How to Sculpt Your Chin

- Start with the probes in the vertical position.
- Start from the center of your chin.
- Use a light/firm amount of pressure.
- Follow the shape of your chin and slowly glide up until you reach the top of your chin near your ears.
- Repeat (so you’ll do the same spot twice).
- Flip the MicroSculpt and now do the opposite side of your face.
Contraindications
Can I use MicroSculpt with facial piercings/modifications?
Can I use MicroSculpt on my neck/thyroid area?
What if I have a thyroid issues?
Can I use MicroSculpt with Retin-A?
Can I use MicroSculpt with facial hair?
Can I use MicroSculpt after cosmetic injections or laser treatments?
Is MicroSculpt compatible with dental Implants and braces?
Can I use MicroSculpt if I Have a pacemaker?
Can I use MicroSculpt while pregnant or breastfeeding?
Can I use MicroSculpt if I have rosacea?
Can I use MicroSculpt if I have epilepsy?
Can I use MicroSculpt if I have or have had cancer, or am undergoing chemotherapy?
Troubleshooting
Why is MicroSculpt NOT turning on? / Why is MicroSculpt on but I don't feel any Microcurrent?
What does MicroSculpt sound like when you turn it on?


Guarantee & Warranty:
We’re Committed To Your Satisfaction!
Shop with confidence, knowing that your happiness is our #1 priority.
1-YEAR WARRANTY
My Derma Dream stands behind every skincare device we sell with a one-year warranty. It must work as promised – and continue to work free of manufacturer defects – or you can exchange it for replacement within one year of receipt.
Email us at info@mydermadream.com to initiate the exchange.
For all refunds, returns, and exchanges, proof of purchase is required.
90-DAY SATISFACTION GUARANTEE
Here at My Derma Dream, we proudly stand behind every skincare device, topical, and accessory we sell with a generous 90-day guarantee:
Try your purchase for 90 days, RISK-FREE.
Make it a part of your skincare routine.
Experience for yourself the promised skin rejuvenating and/or self-care effects.
Plus–to maximize your overall results, we invite you to enjoy 60 days of 1:1 Beauty Consultations with our Derma Dream experts. During 60 days, you can expect us to go above and beyond to guarantee you experience skin rejuvenating effects with our products that build your confidence and that make you feel beautiful – and comfortable – in your own skin.
If, for any reason, you’re nothing less than THRILLED with the overall effects on your appearance and your experience with our products, simply email us at info@mydermadream.com to initiate the return of your purchase with the original packaging within 90 days of purchase to receive a refund.
We insist–because your happiness is our #1 priority!
ORDER CANCELLATION POLICY
Made a mistake with your purchase? Changed your mind or need to alter your order? Order cancellations and changes can be initiated within 59 minutes of purchase; contact info@mydermadream.com for assistance.
Unfortunately, after 59 minutes, because we’re committed to the fastest possible order delivery, we’re unable to cancel your order.
However, you’re welcome to return the package to us unopened, as received, within 7 days of delivery for a full refund minus a restocking fee and any return shipping fees that will be processed within 14 days of receipt with credit applied back to the original method of purchase.
Please contact at info@mydermadream.com to initiate the return.
WANT TO INITIATE A REFUND OR RETURN?
All refunds and returns must be initiated via a email to info@mydermadream.com with our Dream Team who will provide the necessary documentation and walk you through the process.
A reminder that all refunds, returns, and exchanges require proof of purchase and proof of product condition via photos.
And the purchased product and packaging (including unused portions of topicals & consumables) must be returned with the documentation provided during your call with our Dream Team within 90 days of purchase.

Hey Beautiful, Join Us!
Subscribe now for FREE Gifts & Skincare Samples, Invites To Virtual Beauty Events, Exclusive Discounts, And So Much More!
(We protect your privacy. We never spam.
And you can unsubscribe anytime!)


